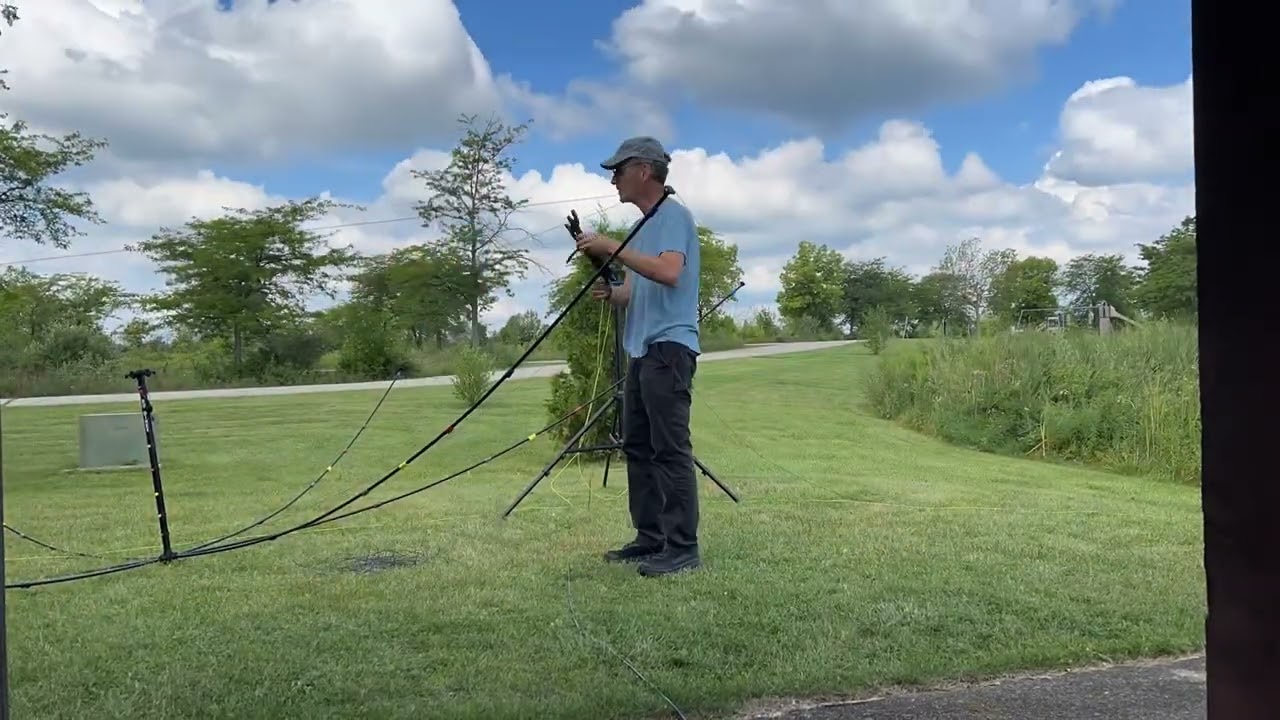
Skeeter Hunt: My First Use of the Buddipole Buddihex Hex Beam Greg Lane 4:19 2 years ago 1 030 Далее Скачать
#HamRadio Live! Show 482. BuddiHex By BuddiPole Part 1 Assembly And Live RX vs. A Vertical Antenna. Ham Radio Live! 1:23:18 Streamed 2 years ago 1 108 Далее Скачать
#HamRadio Live! 483. Buddihex By BuddiPole Review Part 2. Specifications & TX Test. + Solar HF WX. Ham Radio Live! 1:30:07 Streamed 2 years ago 1 008 Далее Скачать
Buddipole Mast vs Mastwerks vs Buddihex collapsed for transport VA7BC 2:41 3 years ago 1 572 Далее Скачать
Buddipole Buddihex and Mastwerks 7m mast packed in their cases for travel VA7BC 0:40 3 years ago 578 Далее Скачать
3 Antennas Compared On-Air: Hexbeam, Butternut Vertical, Offset-Fed Dipole Dave Does Computers & Radio Stuff! 3:07 2 years ago 9 767 Далее Скачать
It Took All Day To Install one Beam - English Weather Frustrations Bradshaw Joinery 20:34 1 year ago 12 471 Далее Скачать
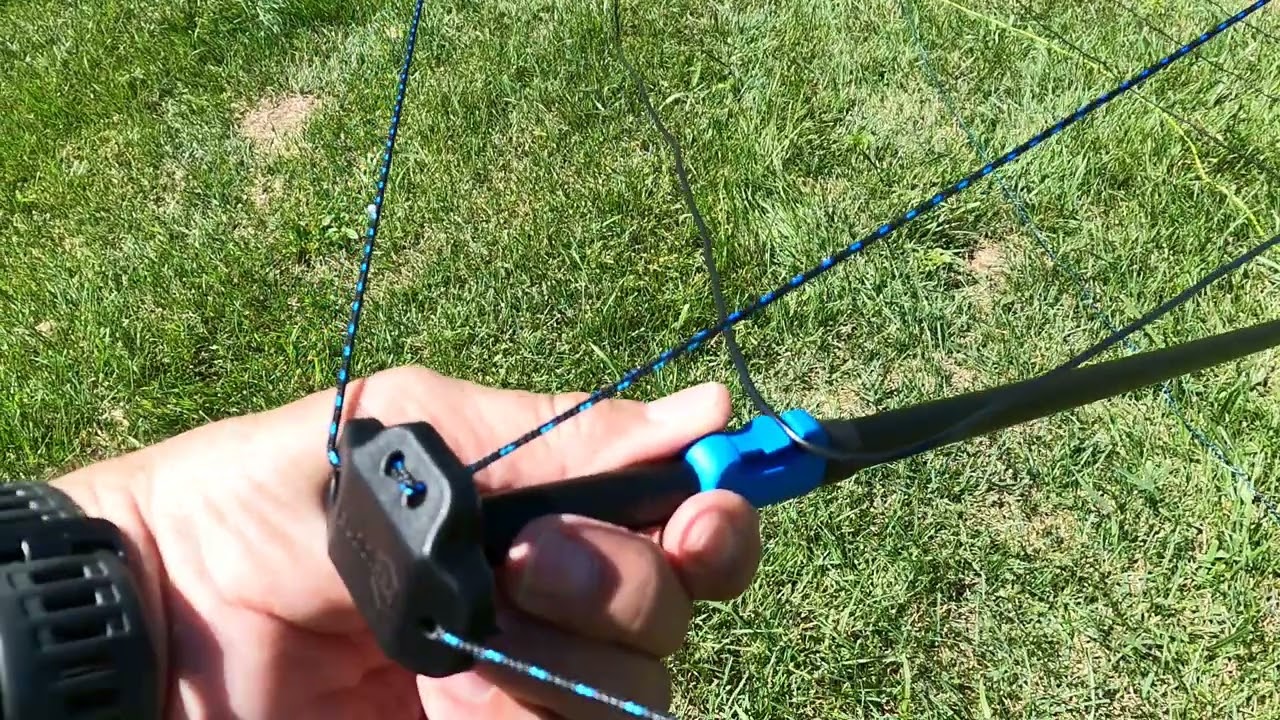
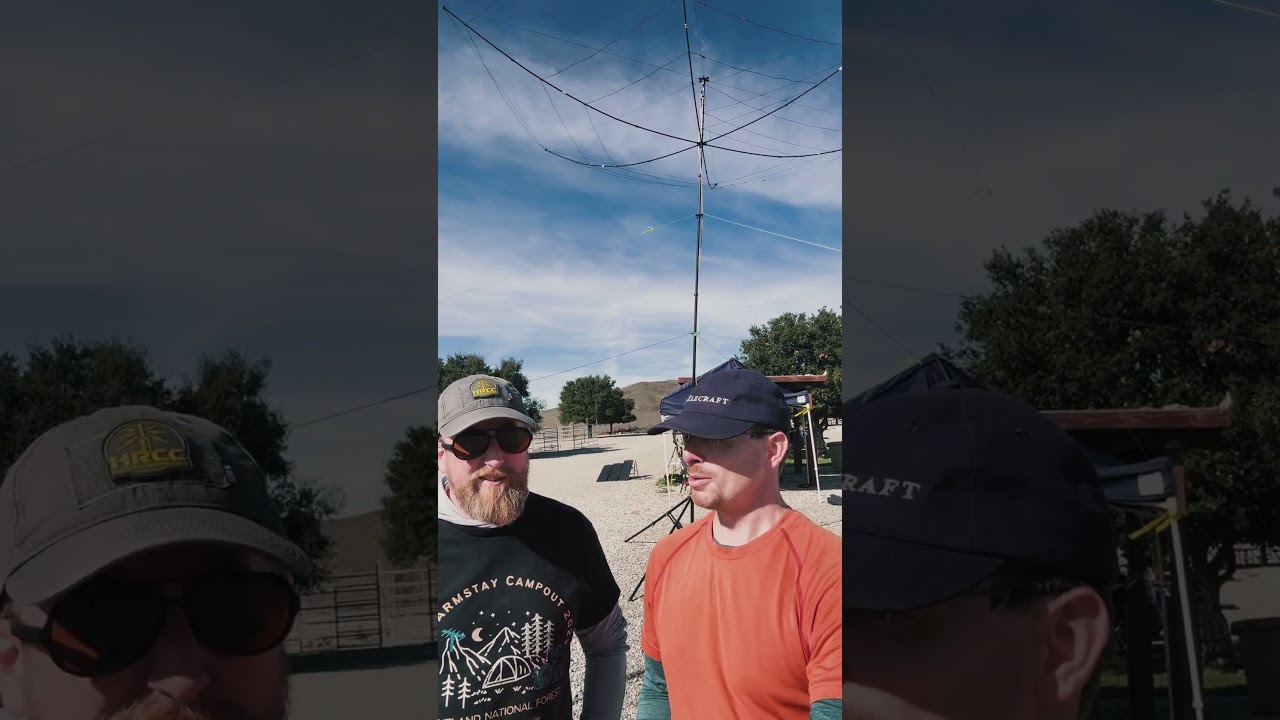
BuddiHEX at Winter Field Day - Operating three bands on a single antenna SOTA+ 0:58 8 months ago 1 605 Далее Скачать